

Notes I. This article assumes that you have the administrative rights or the required role to create and manage resources and items within sessions. Refer to the article Create and manage permission profiles and roles for more information on this topic; II. The masculine gender is used generically in the help articles to simplify the content. |  |
Introduction
 | Lära LMS enables the management of training content that can be shared with other users and used both in a training session on Lära LMS and in a Via HTML activity. |
Key principles related to ressources
The SVIeSolutions products Lära LMS and Via HTML provide a shared management of “Resources,” which can be used as items in a training session or displayed in a Via HTML activity. The “My resources” section is a personal space for each user who has access to it. The resources available under this tab will only be visible to you unless you voluntarily share them with other existing users on your portal. |  |
 | If resources can be shared with different users, with or without editing rights, the user who created them remains the owner of those resources. When resources are shared by content creators, it is considered best practice to create a “Resource administrator” account that will never be deleted and will act as the central owner of the resources |
Create and manage resources in « My ressources »
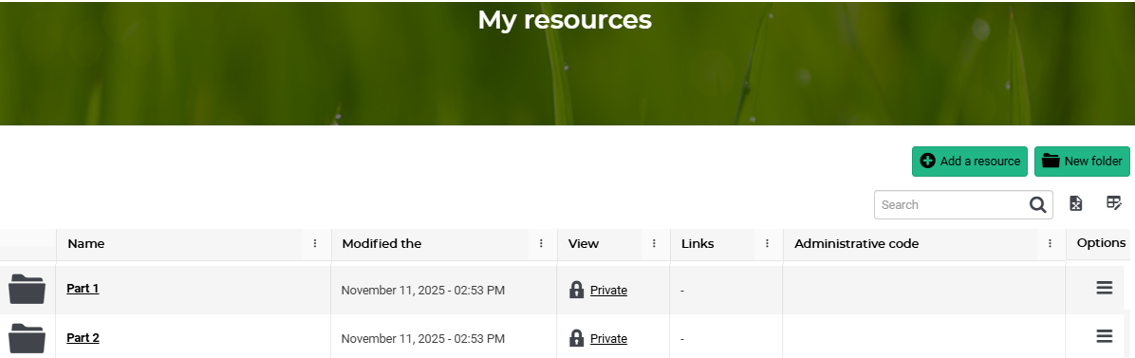
In the “My resources” section, folders and subfolders containing resources can be created and shared. This allows you to organize your training content and share it simultaneously with other administrators. |  |
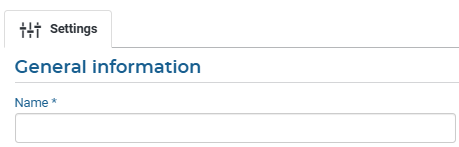 | To create a new folder, go to the “My resources” tab in the user menu and click the “New folder” button.
|
Once your folder or main folder has been created, you can repeat the process by creating folders inside this main folder, following the same hierarchical structure as on a computer:
| |
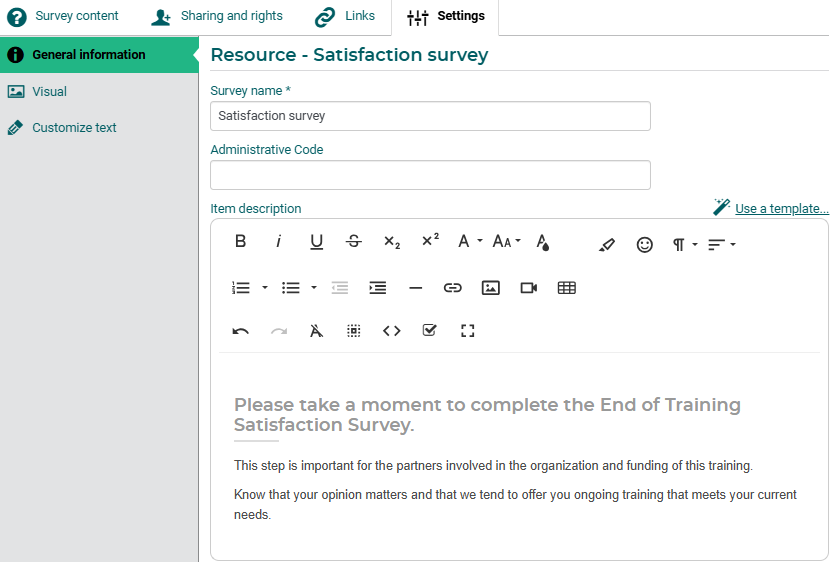
Crate and manage resources in « My ressources »
From the “My resources” section, you can use the button  to create content in the required formats: virtual activity, real-time activity, document/video, survey, quiz (formative or not), assignment, module, SCORM, or presentation block. to create content in the required formats: virtual activity, real-time activity, document/video, survey, quiz (formative or not), assignment, module, SCORM, or presentation block.Resources can be created directly in this section or exported from existing items in a session. Please note that resources in “My resources” are not associated with any enrollment or completion tracking. They can serve as customized templates (visuals, text, etc.) or, in the case of surveys and quizzes, be distributed in sessions to centralize responses from registered participants. |  |
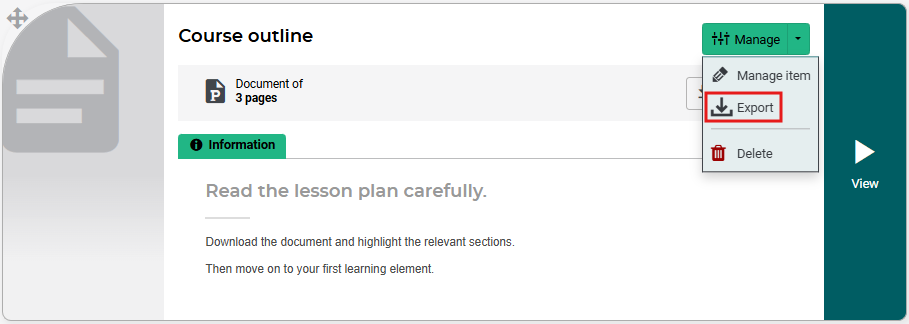
Export a resource to "My resources" for easy reuseWhen you create a content item in a session and want to reuse it later, you can export it to the “My resources” section. This feature allows you to centralize your content and import it into other sessions as needed. . Steps to export a resource:
Important note: Saving the resource in "My resources" creates a link between the parent resource (in “My resources”) and the item in the session. If necessary, you can break this link directly from the item in the session. Reuse in another session :Once exported, the resource can be imported into any other session, making consistency and productivity easier. | |
 | |

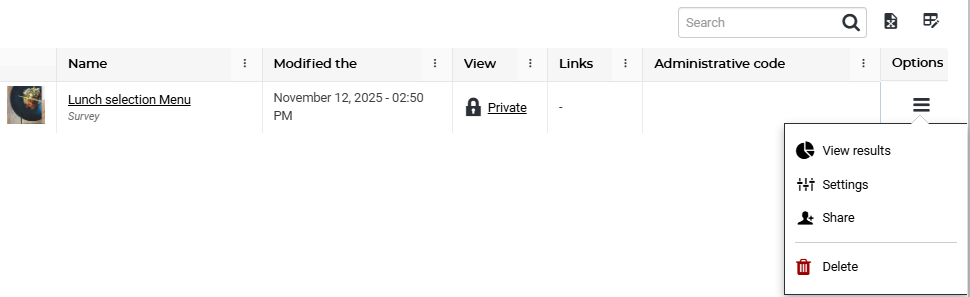
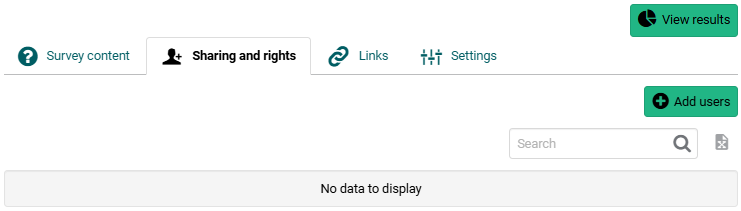
Share a folder or a resource
When a resource already exists in the “My resources” section, you can share it with your team so they can reuse the texts and visuals specific to your company and maintain consistency in the presentation of your content elements. To share a resource, simply follow the steps outlined below. | |
 | |
|    |
 | |
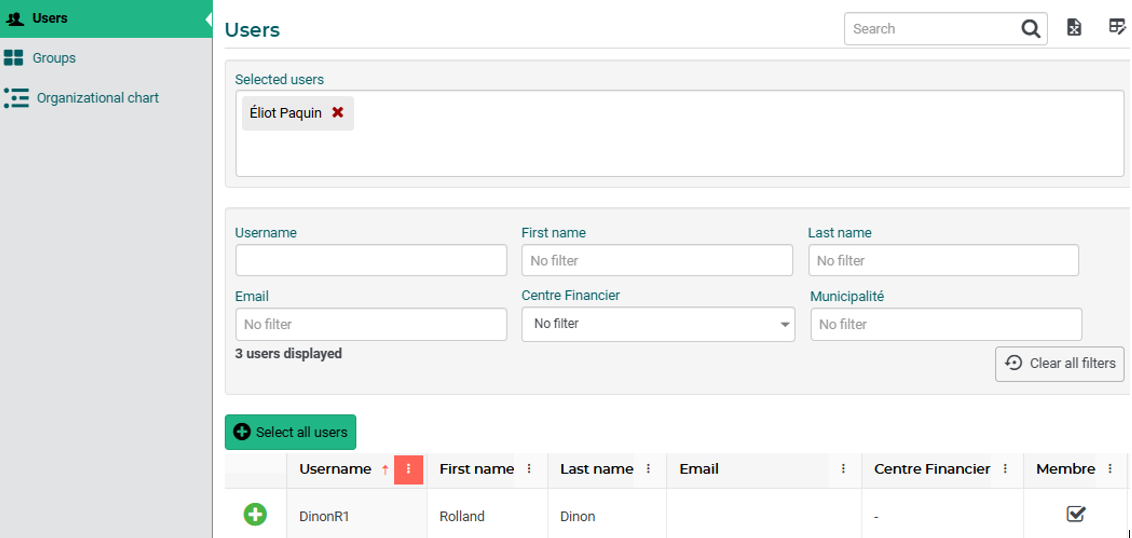 | |
You will then be able to choose the visibility rights for these users from the three available options:
|   |
 to confirm.
Use resources in a session or in an activity Via HTML
All your resources available under the “My resources” tab can be used in sessions to create content items. To do this, go to the session of your choice, activate the  , then click , then click  to display the window for adding content items. to display the window for adding content items.At this stage, a tab appears above the icons  that allows you to display the contents of your “My resources” section, so you can choose the item to add to your session content. that allows you to display the contents of your “My resources” section, so you can choose the item to add to your session content. Once your resource has been added, you will need to define whether this resource will remain linked to its existing parent in “My resources” section or whether it will be unlinked to become an independent item. Next, you will need to determine the completion conditions, availability settings, and notifications, if necessary. | 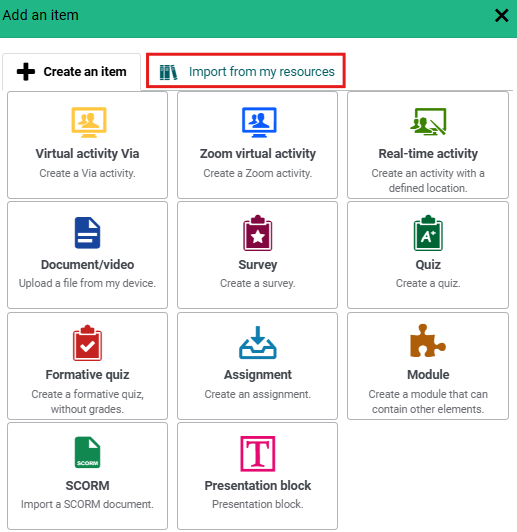  |