
Notes I. This article assumes that you have the administrative rights to create and manage authentication methods. See the article Creating and managing rights profiles and roles to learn more about this; II. Only one authentication method can be configured per portal created. III. Before using a brand new authentication method in production (if your portal is already in use), we recommend that you create a temporary portal and validate that it works properly with this new authentication method. Please see the article Creating and managing portals for this purpose. IV. Please note that the masculine gender is used generically in the support articles to keep the content concise. |  |
Introduction
 | With the creation of different portals in Lära comes the ability to use different authentication methods for your users. For example, an authentication method already present in your company or organization could be reused on one of your portals, allowing the members of your team not to have to remember additional authentication information (username and password). This feature is called SSO (Single sign-on), or single authentication method. |
Creating an authentication method
In your Lära environment, go to "Advanced settings" in the "Administration" menu, then to the "Authentication" section. Click the "Add a method" button, at the top right of the page. Once there, you can create the authentication method of your choice, from among the following: |  |
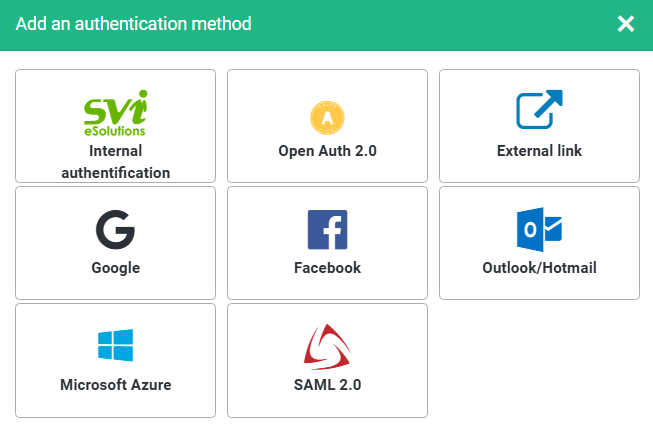 Refer to the appropriate section of this article to create the authentication method of your choice. | |
Applying an authentication method to a portal
To implement your new authentication method (after creating it according to the explanations presented below), go to the "Portals" tab of the "Administration" menu. Once there, select the portal for which you want to change the authentication method. |  |
Go to the "Settings" tab, then to the "General information" sub-tab (selected by default). Now go to the "Access options" section, where you will find the following drop-down list: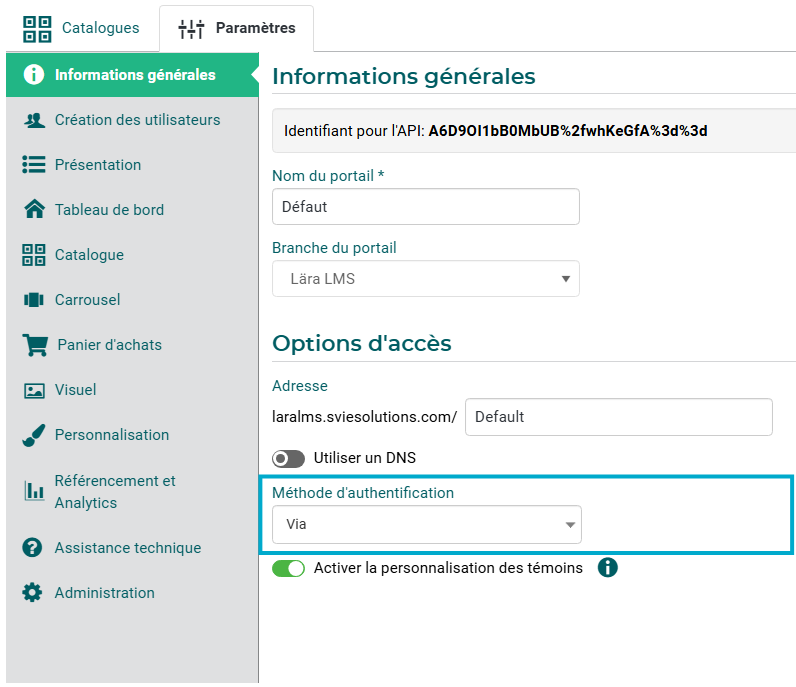 | |
Select your new authentication method to apply to the portal from the list. Press the "reset" button to cancel your changes, or "Save and finish" to save your settings.
Internal authentication
Creating an internal authentication method
In your Lära environment, go to "Advanced settings" in the "Administration" menu, then to the "Authentication" section. Click the "Add a method" button, at the top right of the page. Once there, you can create the authentication method of your choice, from among the following: | |
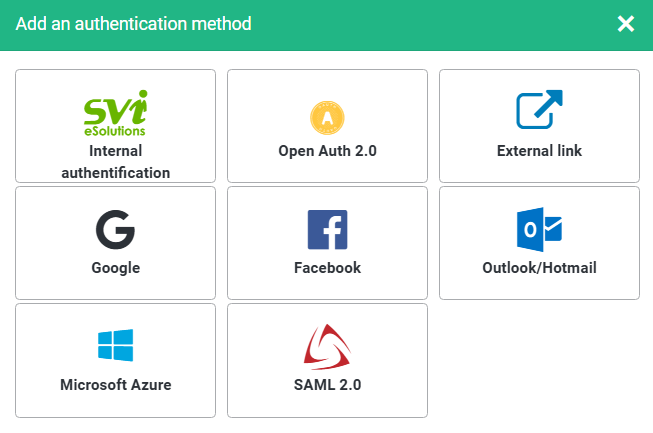 Select "Internal authentication". | |
The internal authentication method of the Lära product is called "Via", and is the default authentication method included in your Lära learning management system. After following the steps above and selecting this authentication method, you will see the following page:

- "Administrative name": lets you choose a name for your authentication method. Only administrators with a high level of rights will be able to access the portals and therefore view the authentication methods; none of your users (learners) will see the name you enter in this field.
- "Name displayed on the sign-in button" *:
- "Complexity level required for passwords" :
- None: the user can choose any password structure.
- Medium: must contain at least 7 characters, as well as numbers and letters
- High (recommended): must contain at least 8 characters, at least 3 of the following 4 types: uppercase letters, lowercase letters, numbers, special characters, and it can never match the username or the email address
- The "Enable the use of multi-factor authentication" option: enables identity verification by sending a code to the user's email address, which they must enter when signing in, according to the frequency defined.
- "At every sign-in" : the user will have to provide the code received at every sign-in.
- "After 1 day": the user will have to provide the code received at least once a day.
- "After 1 week": the user will have to provide the code received at least once a week.
- "After 1 month": the user will have to provide the code received at least once a month.
- The "Redirect URL on sign-out " field lets you set a web address to which your users will be directed when they choose to sign out of the Lära system. Generally, this field will remain empty, so that by default users will stay on your portal once signed out. You could however choose to direct your users who sign out to your organizational site, for example.
Press le bouton  button to cancel your changes, or
  to save your settings.
The default fields used when an account is created by administrators or independently for this authentication method are found and configured under the  tab of the "Administration" menu. Once there, select the portal for which you want to change the fields used for account creation. Go to the "Settings" tab, then to the "User creation". In the " Fields at account creation" section, you will be able to select the mandatory fields to fill in when an account is created (administrative or independent), as well as the fields that can be filled in (optional):

In our example above, only the mandatory fields are selected (by default), as well as the "Email " field. We strongly recommend that you select the email field, otherwise your users or the administrators creating the account might not enter anything in it, and the users created would therefore not receive by email your automated mailings in the environment. Two custom fields have been added to these fields, namely "Member" and "Telephone", which are, in our case, optional. You could therefore make these fields mandatory using the  buttons in the "Required " column of the grid. You can also add to your form several fields available by default, or custom fields that you have created in advance, by pressing the
  button. You will then see the list of fields that you can add to your form (the list shown is not exhaustive):

After selecting the fields that you want to appear on your account creation form, press the  button to confirm your choice, or the
  button to discard your changes and return to the grid of account creation fields shown above.
You can also change the display order of the fields that will be shown in your account creation form using the  buttons in the "order" column. Press the button to cancel your changes, or to save your settings. Here is an example of a form created from the options selected above:

External link
The Lära learning management system lets you connect an authentication method that is not among the methods presented in the introduction. This is sometimes a related system in your company, such as a customer relationship management system (CRM or CRM) or a human resource management system (HRIS or HRMS), for example. You can create the interoperability of the systems yourself or call on the services of SVI to do it.
Creating an external authentication method
In your Lära environment, go to "Advanced settings" in the "Administration" menu, then to the "Authentication" section. Click the "Add a method" button, at the top right of the page. Once there, you can create the authentication method of your choice, from among the following: | |
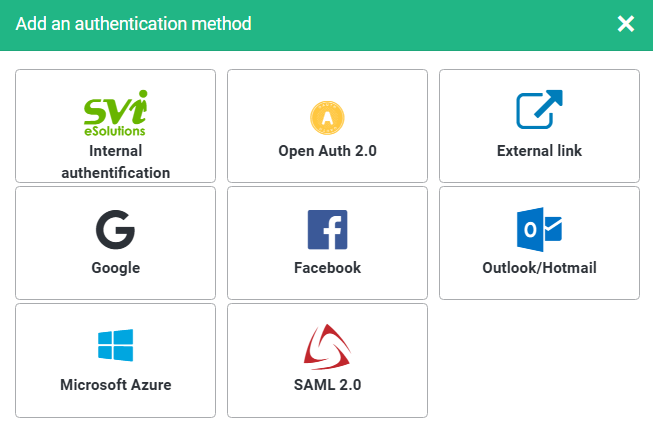 Select "External link". | |
Azure AD
Here are the steps required to configure a new Microsoft Azure authentication method, in order to allow the users of your Microsoft directory to sign in to your Lära portal.
Creating an Azure AD authentication method
In your Lära environment, go to "Advanced settings" in the "Administration" menu, then to the "Authentication" section. Click the "Add a method" button, at the top right of the page. Once there, you can create the authentication method of your choice, from among the following: | |
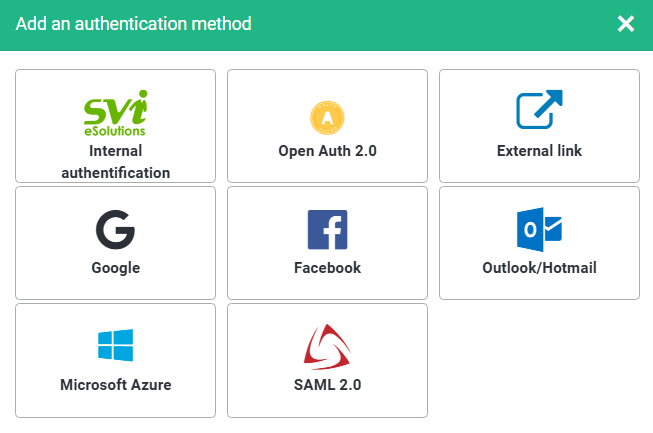 Select "Microsoft Azure". | |
Creating the Active Directory in Azure
- Use your Azure portal to create a new Azure Active Directory authentication application,
(App registrations); - Choose a display name for your application. (For example Lära);
- Choose the supported account types. By choosing, for example, "Accounts in this organizational directory only". This way, authentication will be limited to your organizational directory;
- Specify a redirect URL that Azure will accept as destinations when returning authentication responses (tokens) after user authentication. They are also sometimes called reply URLs and correspond to the address of your portal;
*If you have Azure AD B2C the information to enter in this section will instead be: in the example above, the domain staginglara.sviesolutions.com will become the domain name of your Lära.
 - Retrieve the following information after creating an Azure Active Directory application. This information will have to be added when creating a new authentication method in the Lära portal:
- Application ID (overview section);
- Secret key (certificates & secrets section) - Take the "value" and not the secretID;

Creating the client secret (secret key) in Azure
- Create a description;
- Choose an expiry date for the secret key;
- Add the new secret to the application using the "Add" action button.

Creating a new Microsoft Azure authentication method in the Lära portal.
As presented in the introduction, in your Lära environment, go to  , then to the
  section. Click the
  button, at the top right of the page. Once there, you can select the "Microsoft Azure" method, and give it an administrative name (you can name your authentication method however you want. Users will not see this name). Once there, you will have to enter the information retrieved from the Azure portal that you created in the previous step.
- Scope = To be filled in only if you use Azure AC B2C, with the information below
openid,offline_access,[application ID] - Application identification = Application ID
- Secret key = Secret key
- Use the default settings for authentication and save your configuration.
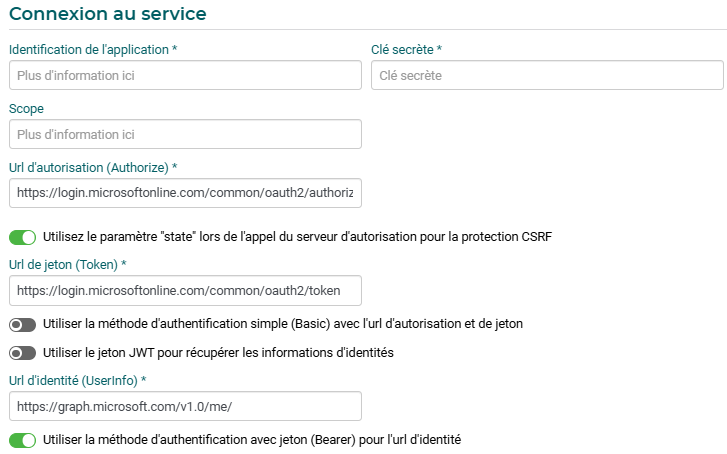
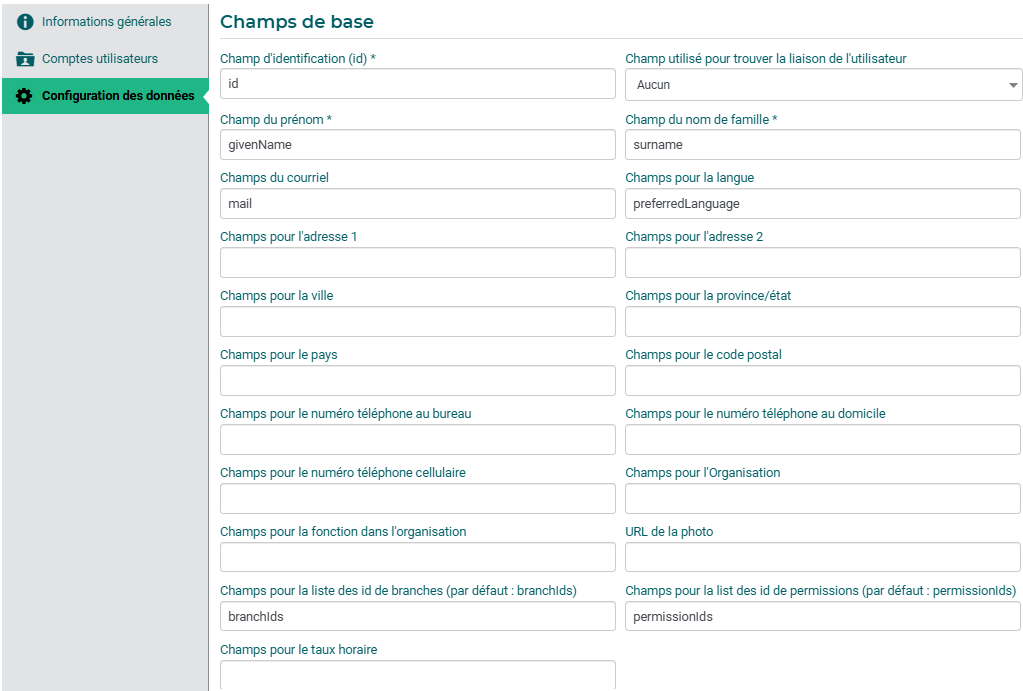
- Validate, if needed, the configuration of the basic Azure Active Directory fields. Just as for the internal authentication of Lära, you can also customize fields to be used by the system:
Open Auth 2.0 |
Here are the steps required to configure the Open Auth 2.0 authentication method, in order to allow users to sign in to your Lära portal.
Creating an Open Auth 2.0 authentication method
In your Lära environment, go to "Advanced settings" in the "Administration" menu, then to the "Authentication" section. Click the "Add a method" button, at the top right of the page. Once there, you can create the authentication method of your choice, from among the following: | |
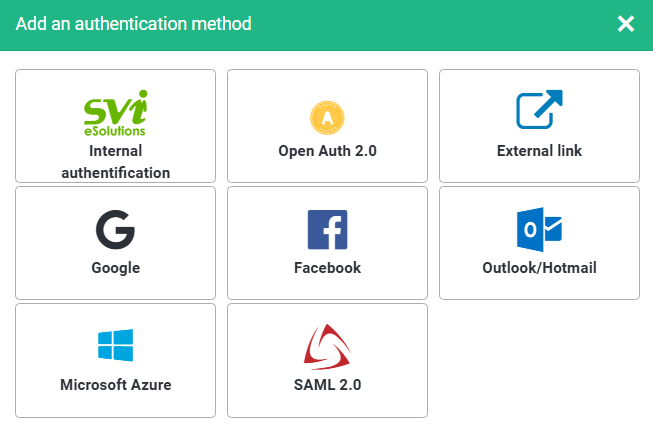 Select "Open Auth 2.0". | |
Creating Open Auth 2.0
In your identity manager, you must create a new application so that it can give you access to authentication and to user data.
Once the creation is complete, make sure the permissions related to token issuance are enabled (Access tokens and ID tokens).
Creating a new Open Auth 2.0 authentication method in the Lära portal
In your Lära environment, go to , then to the section. Click the button, at the top right of the page. Once there, you can select the "Open Auth 2.0" method, and give it an administrative name (you can name your authentication method however you want. Users will not see this name). Then, specify the text displayed on the sign-in button by filling in the field. Name displayed on the sign-in button
Once there, you will have to enter the information retrieved from the Open Auth 2.0 portal that you created in the previous step.
Connection to the service
- "Application identification": Application ID
- "Secret key": Secret key
- Use the default settings for authentication and save your configuration.
- "Authorization URL (Authorize)": Authorization URL used to take the sign-in rules into account
- "Use the "state" parameter when calling the authorization server for CSRF protection": this option can be enabled if needed
- "Token URL (Token)": Token URL allowing the exchange between servers to ensure single sign-on
- "Use the simple authentication method (Basic) with the authorization and token URL": This option can be enabled if needed
- "Use the JWT token to retrieve the identity information": will allow the secure exchange of tokens between several parties and can be enabled if needed
- "Identity URL (UserInfo)": Indicate which fields will be synchronized
- "Use the token authentication method (Bearer) for the identity URL": must be active since it will indicate that the user accessing the resources is properly authenticated
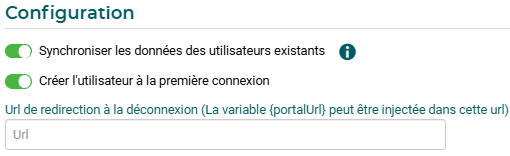
Configuration
- Synchronize the data of existing users: this option must be enabled so that existing users have their information synchronized
- Create the user at first sign-in
- Redirect URL on sign-out (the {portalUrl} variable can be injected into this URL)

Data configuration
Then go to the Data configuration tab in order to validate, if needed, the configuration of the basic fields. Just as for the internal authentication of Lära, you can also customize fields to be used by the system and determine which fields will be linked for the synchronization of your users' data.
*The Fields for the list of branch ids and Fields for the list of permission ids must be filled in (by default => branchids and permissionids. The root branch will be used, as well as the basic user profile )
**The Field used to find the user link is not essential, but recommended since it will prevent the creation of duplicate accounts.

SAML 2.0
 | Below you will find the steps required to configure the SAML 2.0 authentication method, in order to allow users to sign in to your Lära portal. |
Creating a SAML 2.0 authentication method
In your Lära environment, go to "Advanced settings" in the "Administration" menu, then to the "Authentication" section. Click the "Add a method" button, at the top right of the page. Once there, you can create the authentication method of your choice, from among the following: | |
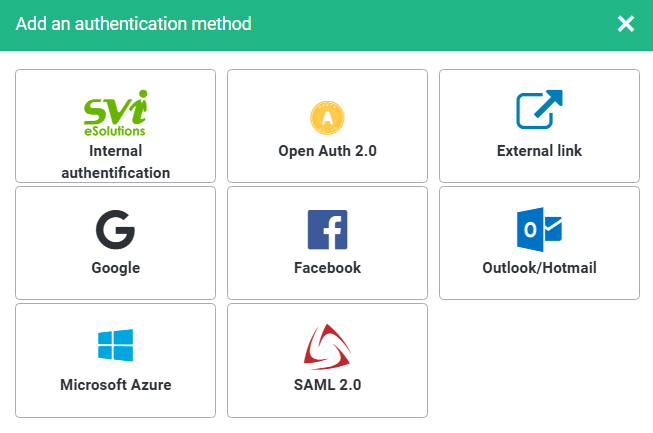 Select "SAML 2.0". | |
Creating SAML 2.0
Creating a new SAML 2.0 authentication method in the Lära portal
Connection to the service
- "Application identification": Application ID
- "Secret key": Secret key
- Use the default settings for authentication and save your configuration.
- "Authorization URL (Authorize)": Authorization URL used to take the sign-in rules into account
- "Certificate": certificate required for au
Configuration
- Synchronize the data of existing users: this option must be enabled so that existing users have their information synchronized
- Create the user at first sign-in: this option must be enabled so that users signing in for the first time are created in Lära
- Redirect URL on sign-out (the {portalUrl} variable can be injected into this URL): define here the URL to which your users will be redirected as soon as they sign out

Data configuration
Then go to the Data configuration tab in order to validate, if needed, the configuration of the basic fields. Just as for the internal authentication of Lära, you can also customize fields to be used by the system and determine which fields will be linked for the synchronization of your users' data.
*The Fields for the list of branch ids and Fields for the list of permission ids must be filled in (by default => branchids and permissionids. The root branch will be used, as well as the basic user profile)
**The Field used to find the user link is not essential, but recommended since it will prevent the creation of duplicate accounts.

In Lära you can use the Google authentication method, which uses the Gmail address of your users.
Creating a Google authentication method
In your Lära environment, go to "Advanced settings" in the "Administration" menu, then to the "Authentication" section. Click the "Add a method" button, at the top right of the page. Once there, you can create the authentication method of your choice, from among the following: | |
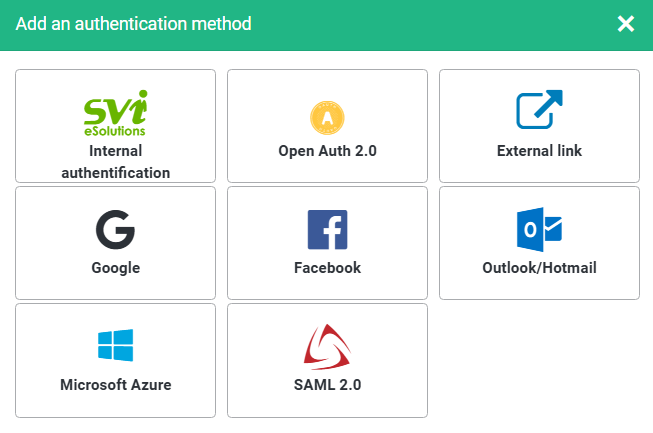 Select "Google". | |
Configuring the authentication method on the Google platform
- Go to the Google Cloud Platform;
- Sign in using your individual Google account (Gmail address);
- From the main menu, select "APIs and services", then " Credentials ";

- If your project has previously been created for the use of your Lära training portal, select it from the "Select a project" drop-down list at the top of the interface;
- If your project does not exist, you will have to create it. Go to the "Hamburger" menu, represented by three horizontal bars at the top left of the interface. In the menu, go to the "APIs and services", puis sur le sous-onglet "Credentials" sub-tab. Once in the "Credentials" section, click the
 ;
;
- In the "Project name" field, enter a meaningful name representing your Lära LMS training portal;
- In the "Location" field, choose the desired organization (you can leave the setting at its default value "No organization"). Then click the
 pour confirmer votre choix, ou sur
  to discard your changes;
- You are now in the "APIs and Services" menu, on the "Credentials" sub-tab. Click
 , then select "OAuth client ID".
- In order to create your OAuth client ID, you must first have defined a product name for the authorization screen. Click the
 ;
;
- From the OAuth authorization page, fill in the following fields:
- Application name: enter precisely the name of your Lära LMS training portal;
- Application logo: upload an image representing your organization or your Lära LMS training portal;
- Support email address: select the email address you want to use to offer support to your clients on the authorization screen. Ideally, it is the same email address as the one for your "Support" button (See the article Creating and managing portals for this purpose);
- Application scopes for the Google APIs: By default, three fields will be used for the exchange of user data (email, profile, openid). If needed, add other fields by clicking the "Add a scope" button;

- Authorized domains: enter the domain name used for your training portal;
- Link to the application's home page: enter the full URL of your Lära LMS training portal;
- Link to the application's privacy policy: if applicable, enter the URL used to present the privacy policy related to your Lära LMS training portal;
- Link to the application's terms of use (Optional): if applicable, enter the URL used to present the terms of use related to your Lära LMS training portal;

- Press
 ;
;
- From the "Create an OAuth client ID" window, fill in the following fields:
- Application type field: choose Web application
- Name field: enter a name representing your Lära LMS portal
- Authorized JavaScript origins field: please leave this field empty.
- Authorized redirect URIs field: enter the URL of the Identification section provided by the Lära portal in the Google authentication method. Example: https://www.domaine.com/Web/SignInOAuth2
(the <www.domaine.com> portion must be replaced by the domain name of your organization. Note that the URL must be of the "https" type.)
- The creation of your OAuth Client credentials is now complete. Please keep the information of your client ID as well as your client secret code; they will be requested in the next step. You can use the copy/paste buttons at the end of each field to make the task easier.

Configuring the authentication method on the Lära platform
As presented in the introduction, in your Lära environment, go to , then to the section. Click the button, at the top right of the page. Once there, you can select the "Google" method, and give it an administrative name (you can name your authentication method however you want. Users will not see this name). Once there, you will have to enter the information retrieved from the Google platform that you created in the previous step:
- Enter an administrative name for the Google authentication method;
- In the "Connection to the service" section, enter in the "Application identification" field the client ID information provided by the Google platform;
- In the "Secret key" field, enter the client secret code information provided by the Google platform;
- In the " Configuration" section, the following 2 options can be enabled:
- Synchronize the data of existing users: Lära will automatically establish a link between the users already created in Lära before the authentication method was set up. The email field (Gmail) will of course have to be filled in with the right email address;
- Create the user at first sign-in: when a user signs in to Lära with their Google credentials (Gmail), they will automatically be created in the system;
- The "Redirect URL on sign-out" field lets you set a web address to which your users will be directed when they choose to sign out of the Lära system. Generally, this field will remain empty, so that by default users will stay on your portal once signed out. You could however choose to direct your users who sign out to your organizational site, for example.
Press le bouton  button to cancel your changes, or
  to save your settings.
Google Enterprise
Creating a Google Enterprise authentication method
In your Lära environment, go to "Advanced settings" in the "Administration" menu, then to the "Authentication" section. Click the "Add a method" button, at the top right of the page. Once there, you can create the authentication method of your choice, from among the following: | |
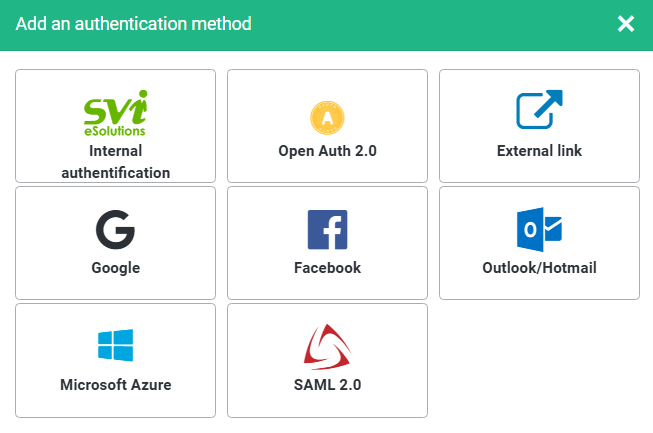 Select "Google". | |

Creating a Facebook authentication method
In your Lära environment, go to "Advanced settings" in the "Administration" menu, then to the "Authentication" section. Click the "Add a method" button, at the top right of the page. Once there, you can create the authentication method of your choice, from among the following: | |
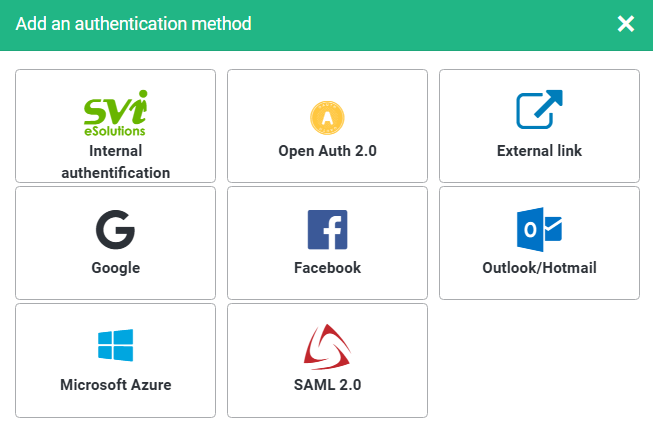 Select "Facebook". | |

Outlook/Hotmail
Creating an Outlook/Hotmail authentication method
In your Lära environment, go to "Advanced settings" in the "Administration" menu, then to the "Authentication" section. Click the "Add a method" button, at the top right of the page. Once there, you can create the authentication method of your choice, from among the following: | |
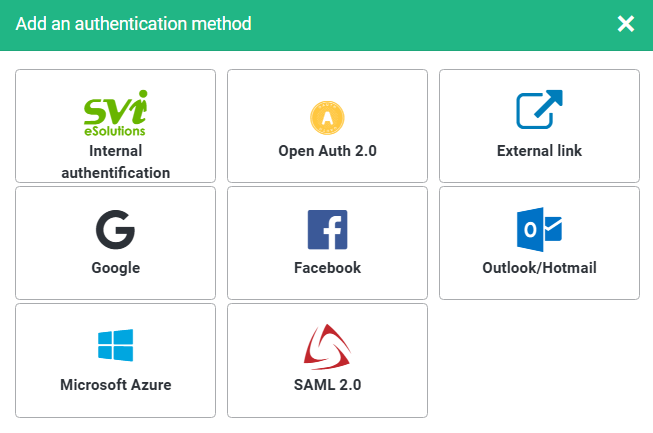 Select "Outlook/Hotmail". | |